Onboarding
First-time setup — name, team, quick start, and optional app connections.
Overview
Onboarding helps new users personalise JioAI Assistant and connect work apps. You set what the assistant should call you and which team you are part of, see a quick start about how one search bar queries enterprise files, the web, and AI knowledge together, then connect your sources for smarter answers. JioAI Assistant uses information from your Microsoft 365 apps — files, email, and meetings — so answers include your work context. You can skip connections and set them up later from Settings.
End-to-end flow
A simple path to follow:
After first login → Welcome screen → Enter your name and select your team → Continue → Quick start info → Connect your sources (Connect or Skip for now) → Microsoft 365 connected (if you connected) → Continue → Start using the assistant
How it works
Welcome:
Tell the assistant what to call you and which team you belong to so it can adapt skills and personality for you. What should JioAI Assistant call you? — 50 characters. Add team name (when you choose Other) — 50 characters.
Quick start:
One search bar queries your enterprise files, the web, and AI knowledge simultaneously — so you can find answers from connected work content and public information in one place.
Microsoft 365:
One card covers SharePoint, OneDrive, Outlook, and Calendar together. The card states that JioAI Assistant never shares information you have kept private. Connect or disconnect anytime from Settings.
Skip anytime:
Click Skip for now to finish setup without connecting — you can connect later from Settings → My Connectors.
Tip:
Connecting sources during onboarding is optional; you can always finish setup later from Settings if you skip.
Walkthrough
1. Onboarding page
On the onboarding page, enter what AI should call you and select which team you are part of, then click Continue.
Pick the team that best matches your role. What should JioAI Assistant call you? — 50 characters. Add team name (when you choose Other) — 50 characters.
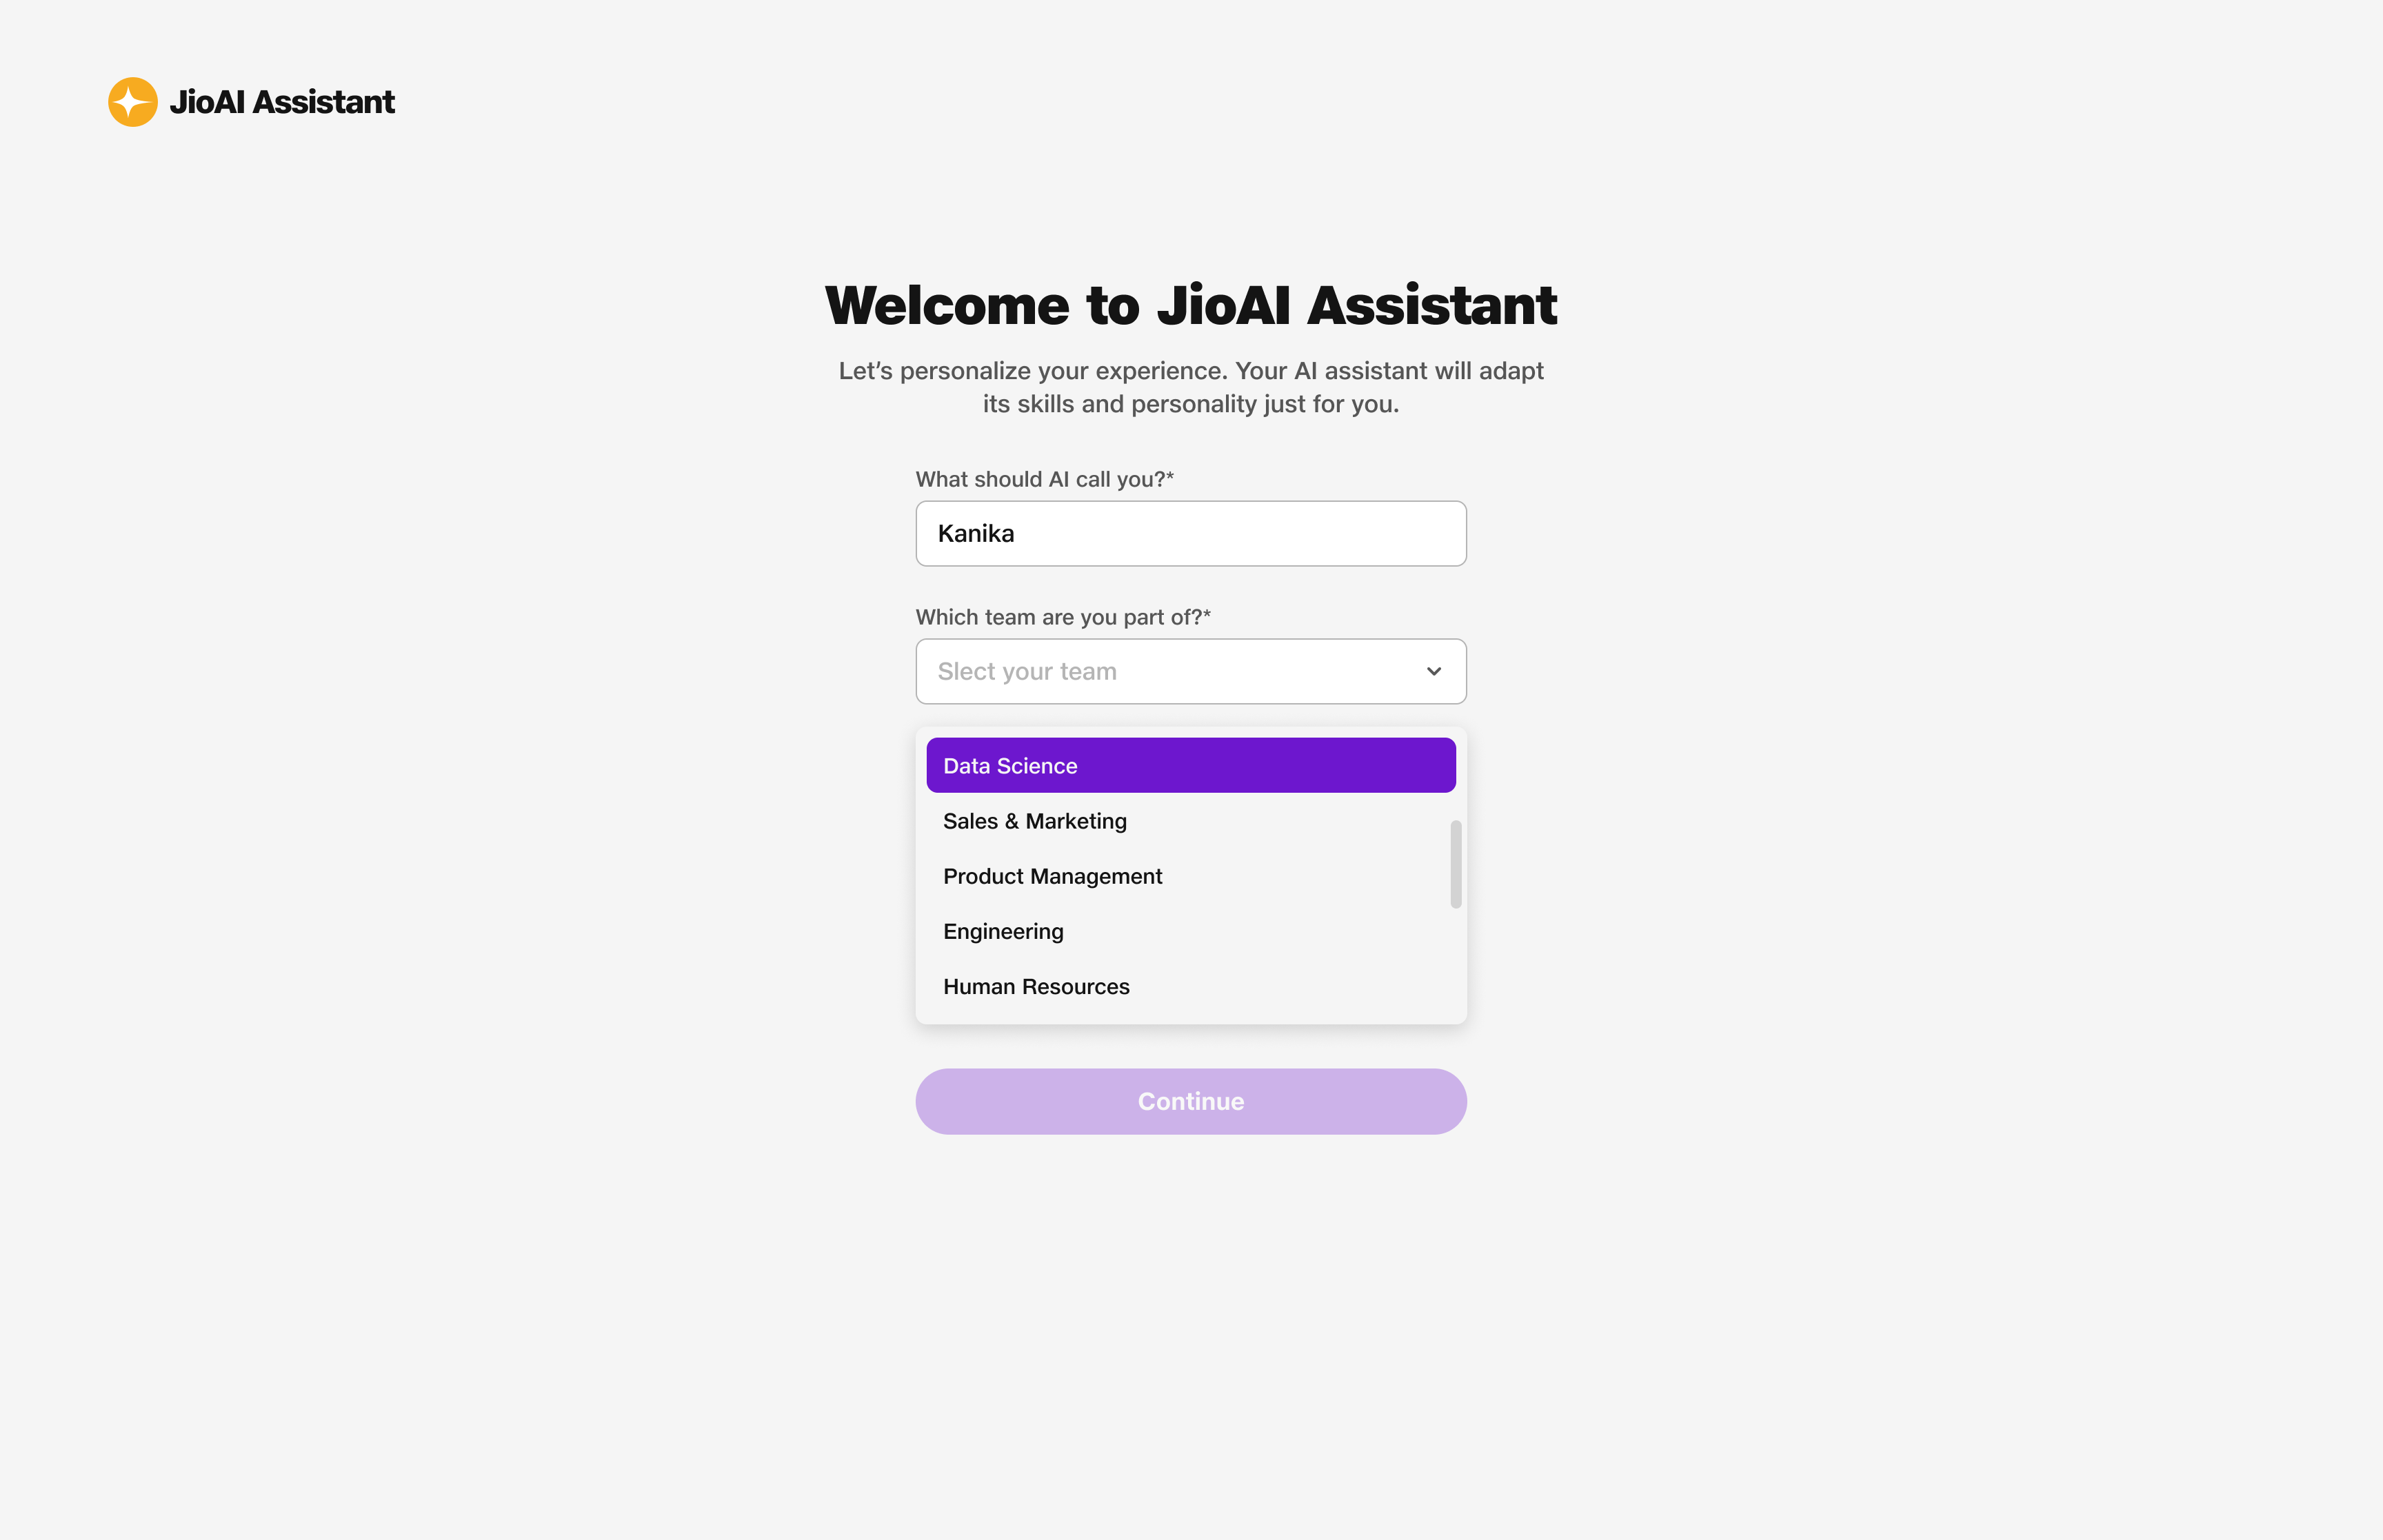
- Name: Up to 50 characters.
- Team: Select your team from the list.
2. Quick start info
On the quick start screen, read how one search bar queries your enterprise files, the web, and AI knowledge simultaneously.
Use the arrows to move through the quick start screens, or click Skip if you want to continue setup.
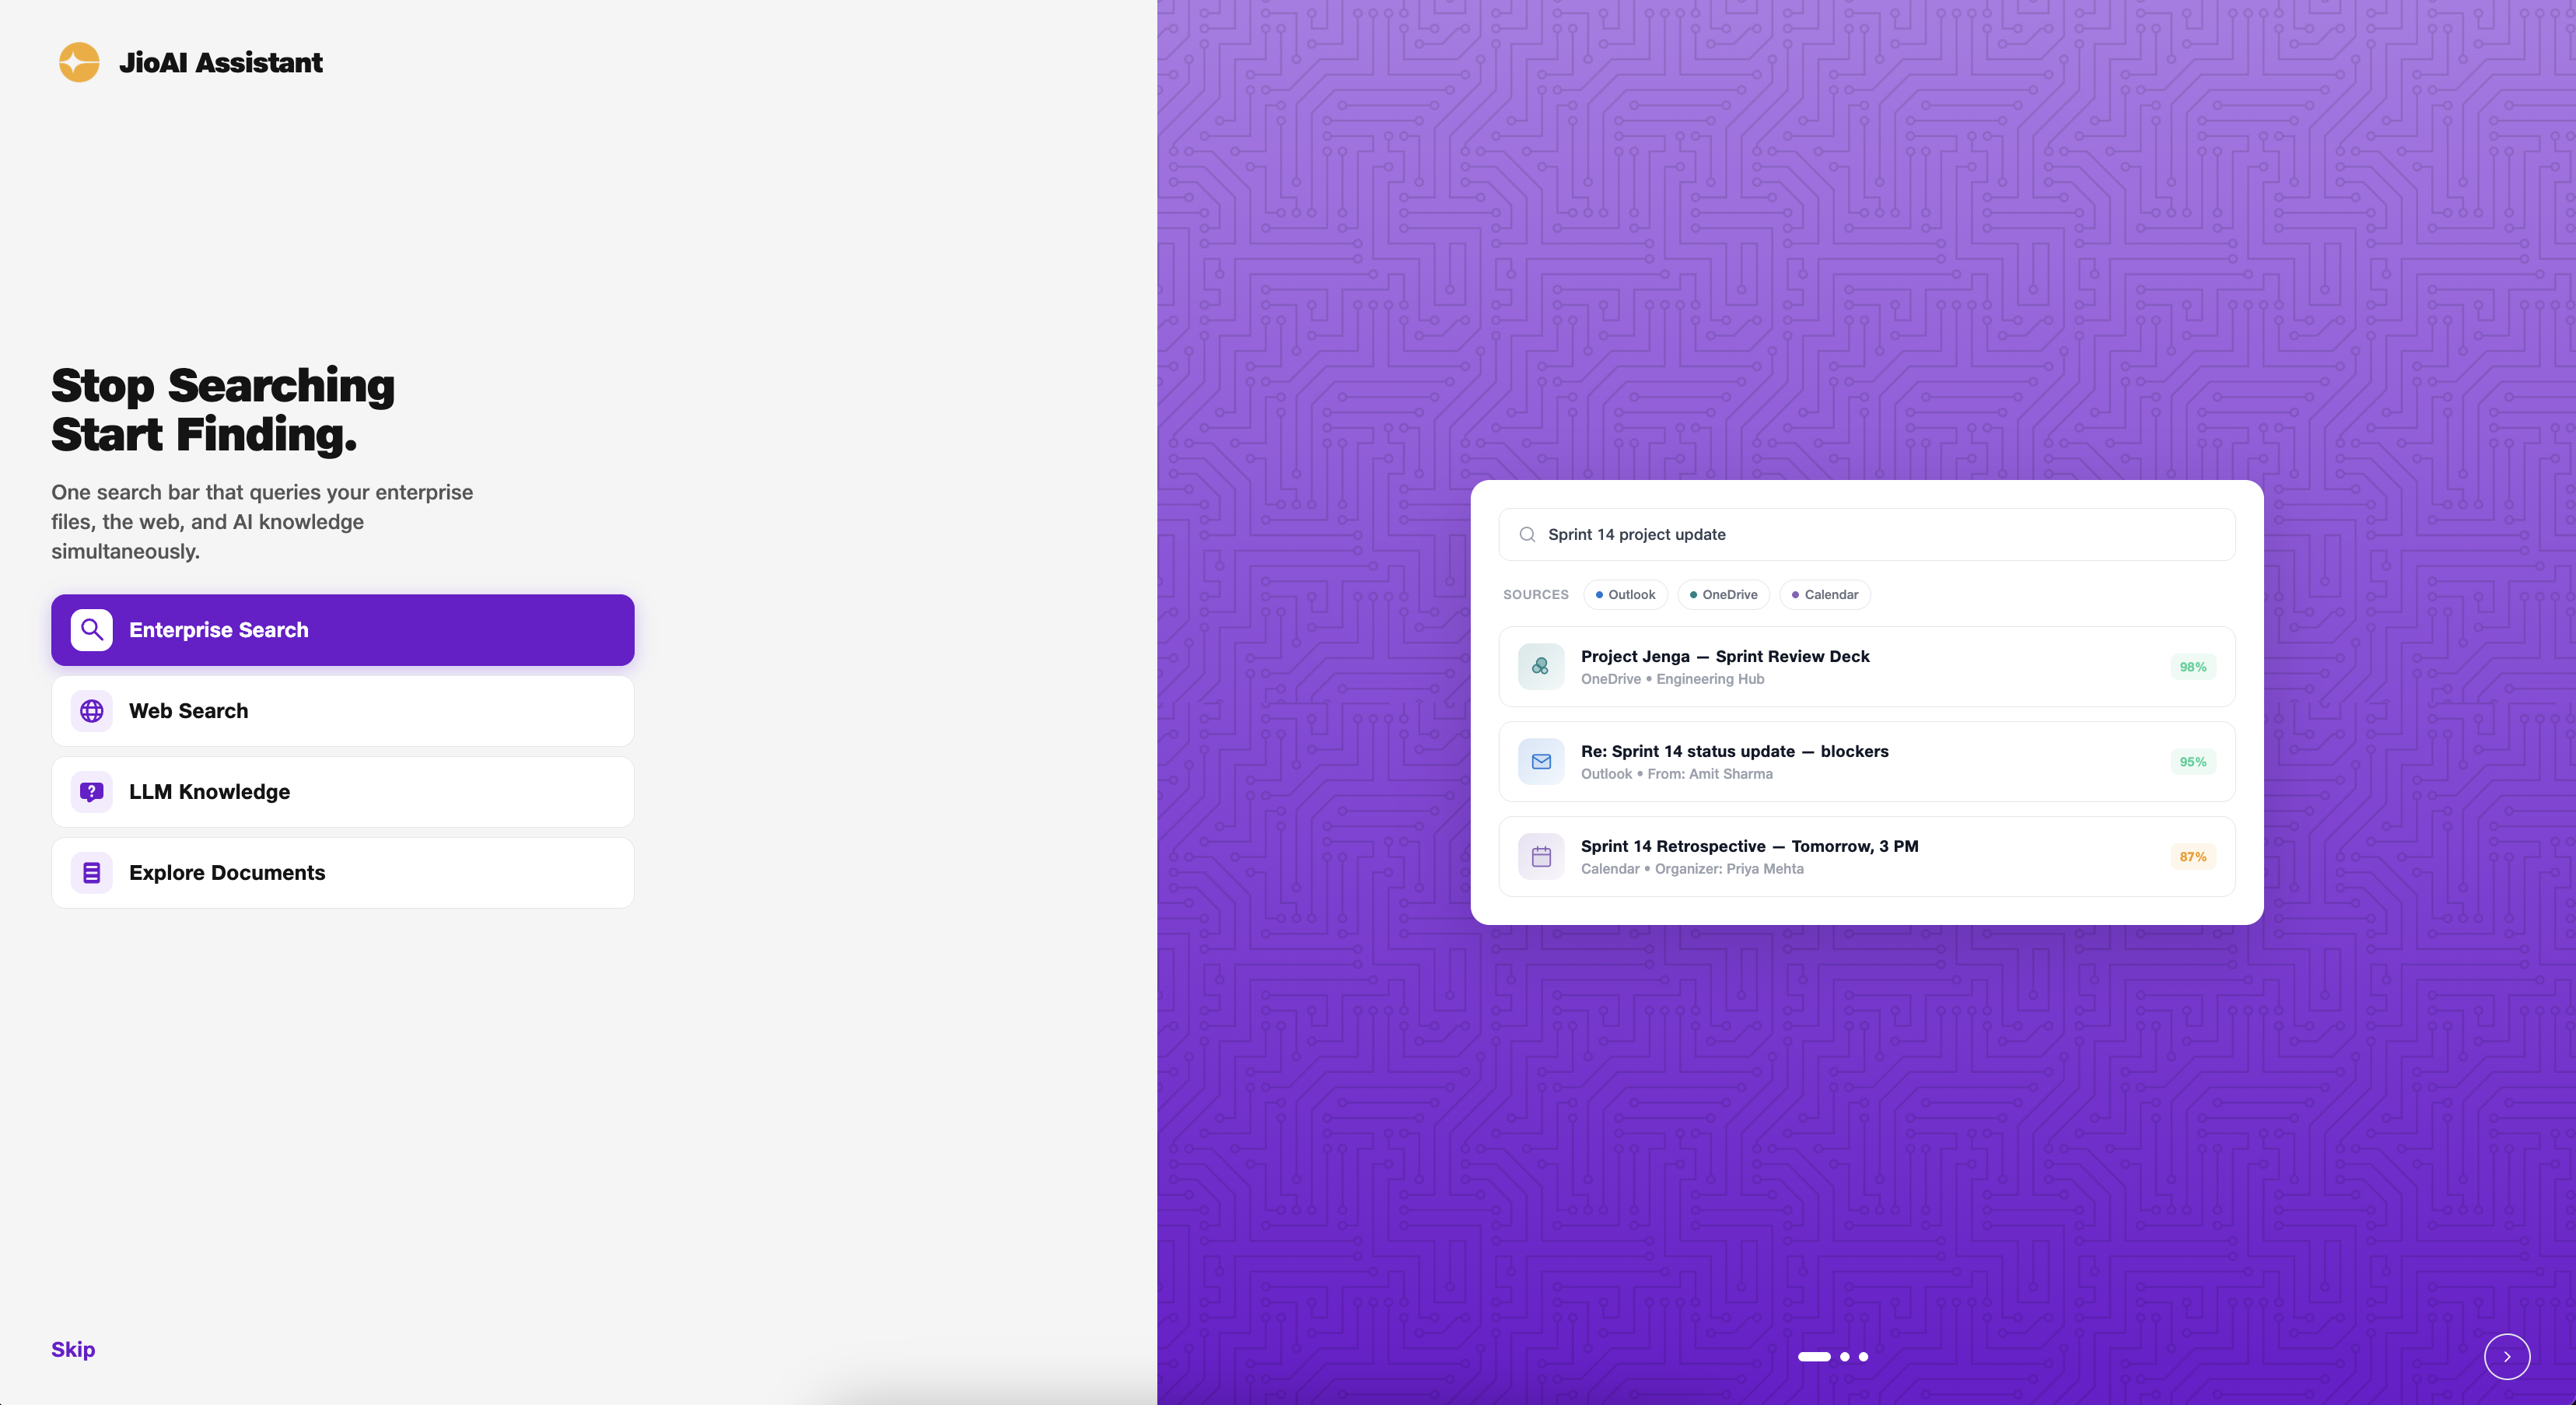
- One search bar: Enterprise files, web, and AI knowledge together.
3. Connect your sources
On the Connect your sources step, you will see one Microsoft 365 card for SharePoint, OneDrive, Outlook, and Calendar, with a Connect button.
Click Connect to sign in with Microsoft. After a successful sign-in, you move to a confirmation screen. Click Skip for now to finish setup without connecting — you can connect later from Settings. If you cancel sign-in or sign-in fails, you stay on this screen and nothing is connected.
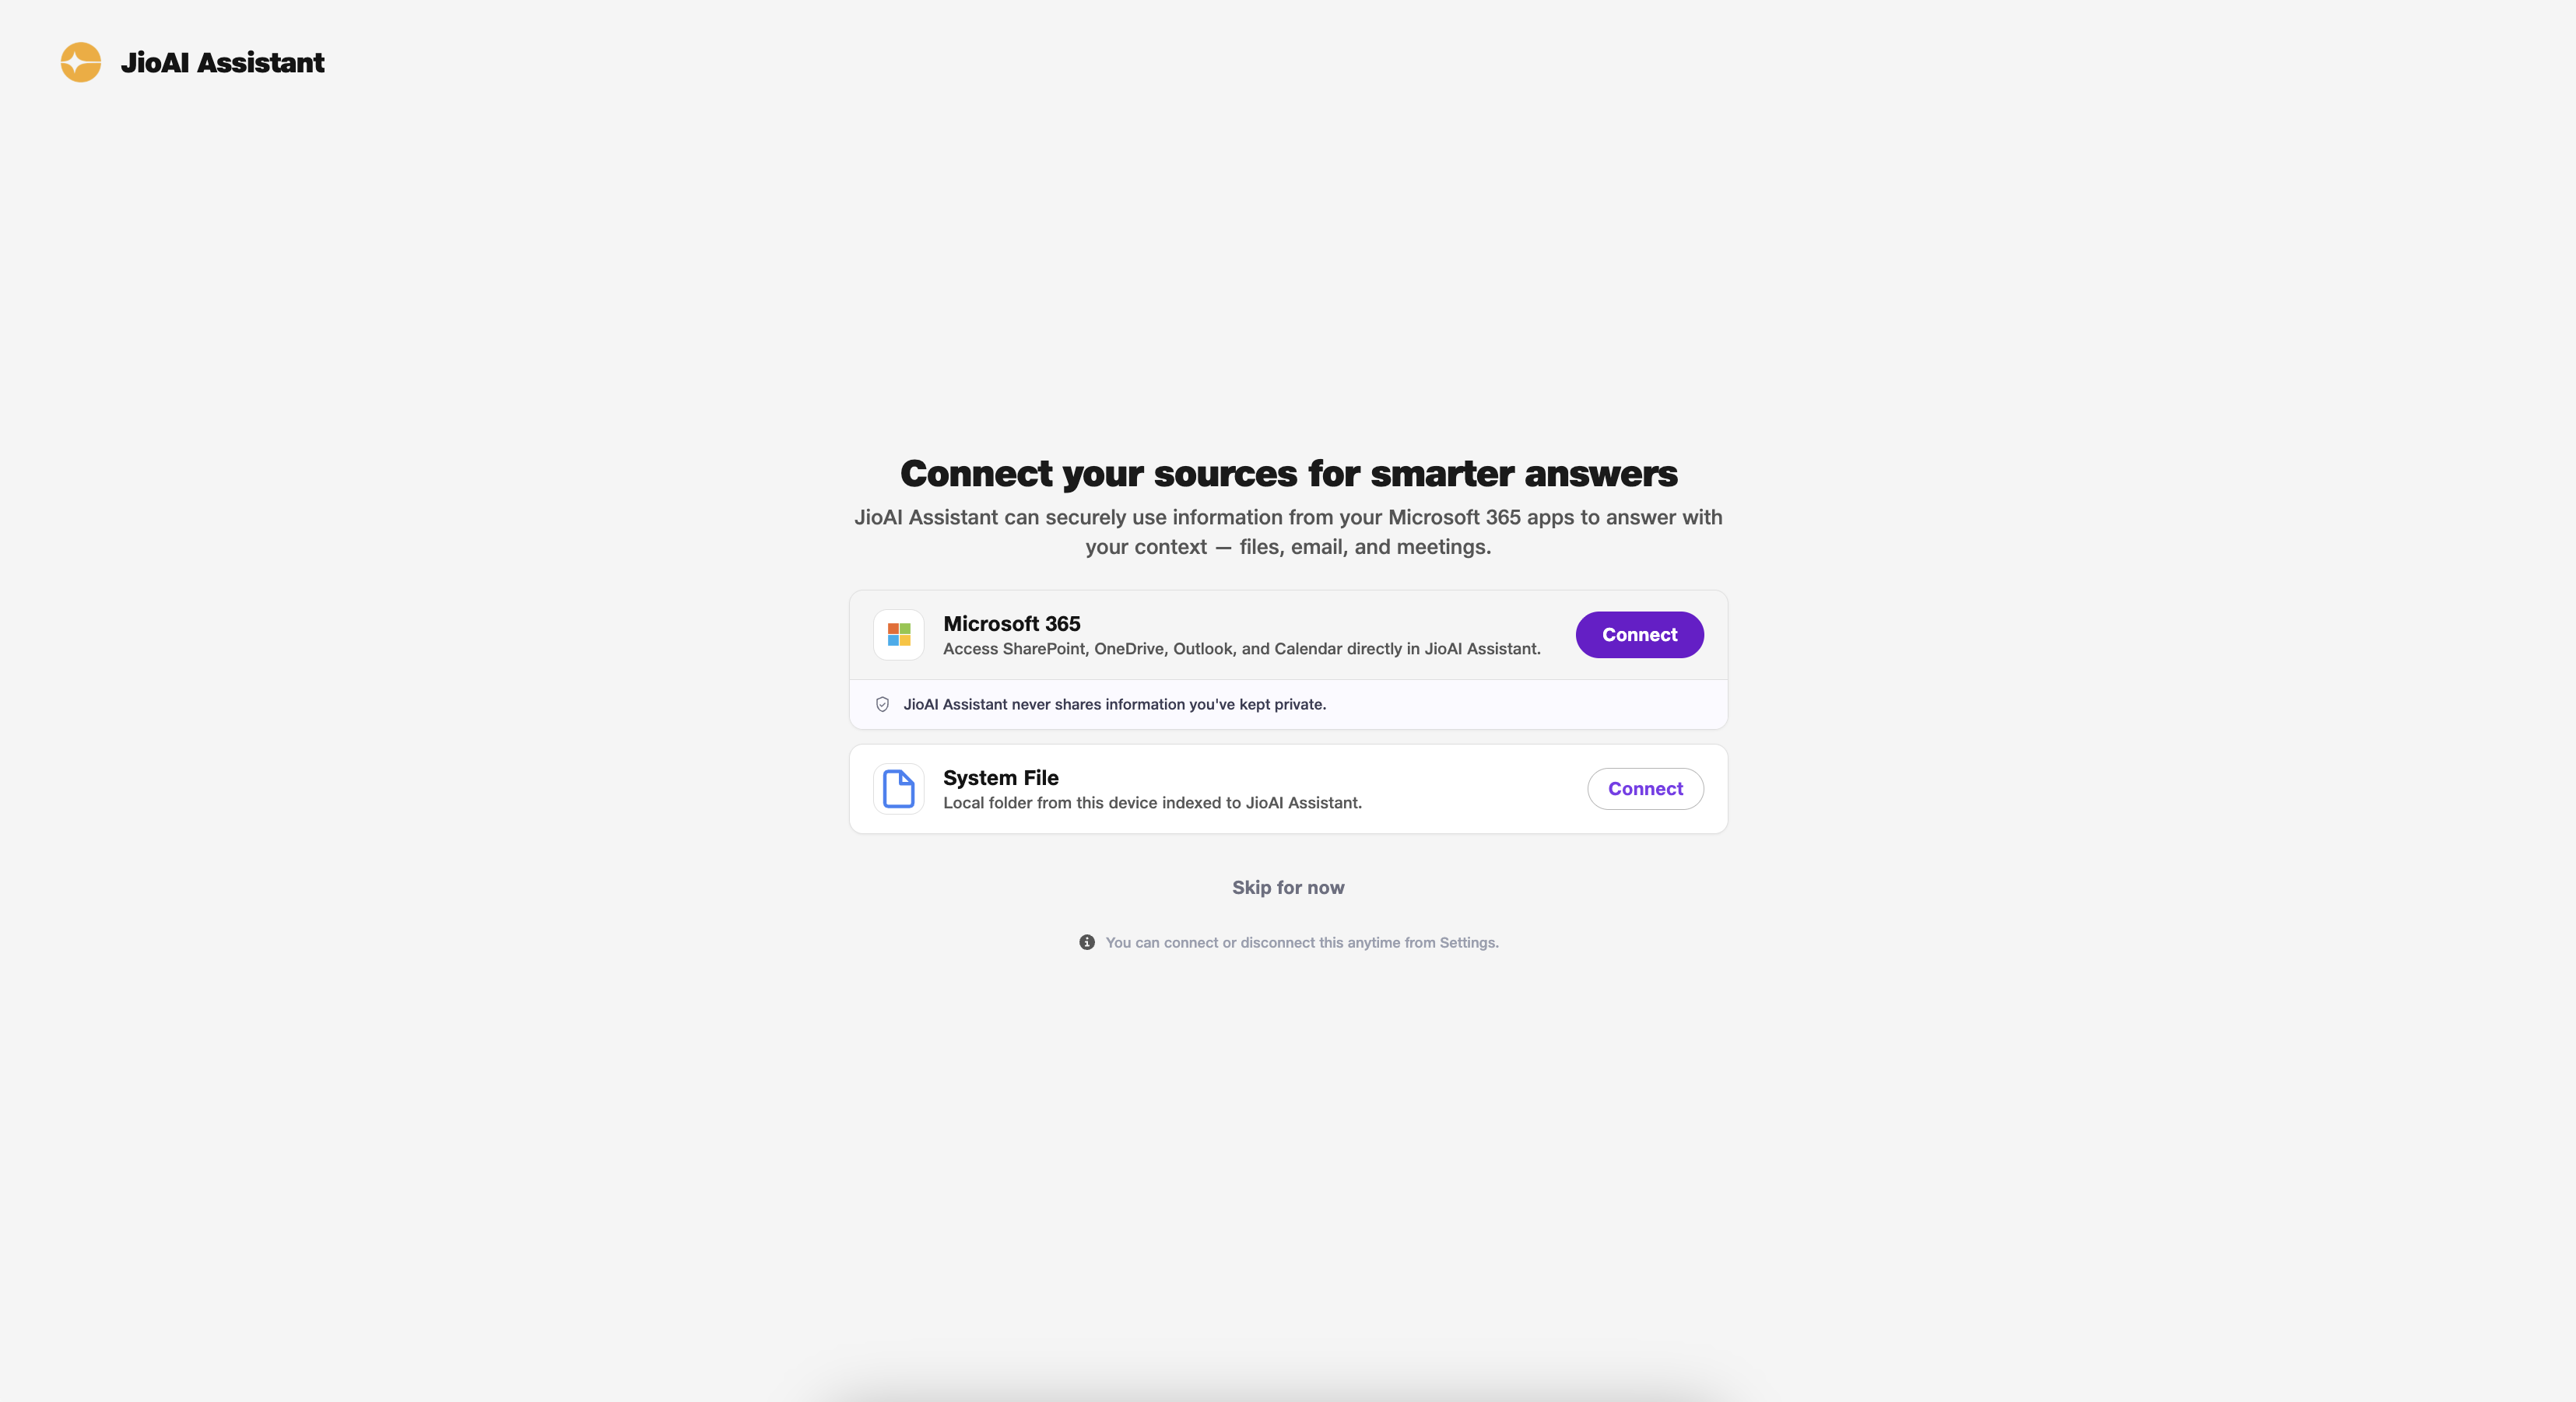
- Privacy: JioAI Assistant never shares information you have kept private.
- Skip: Finish setup now; connect later from Settings.
4. Microsoft 365 connected
After a successful connect, you will see Microsoft 365 is connected.
Your email, a Connected label, and four sources appear: SharePoint, OneDrive, Outlook, and Calendar — each shown as Enabled. Click the Microsoft 365 header to hide or show the source list. Click Continue to enter the product.
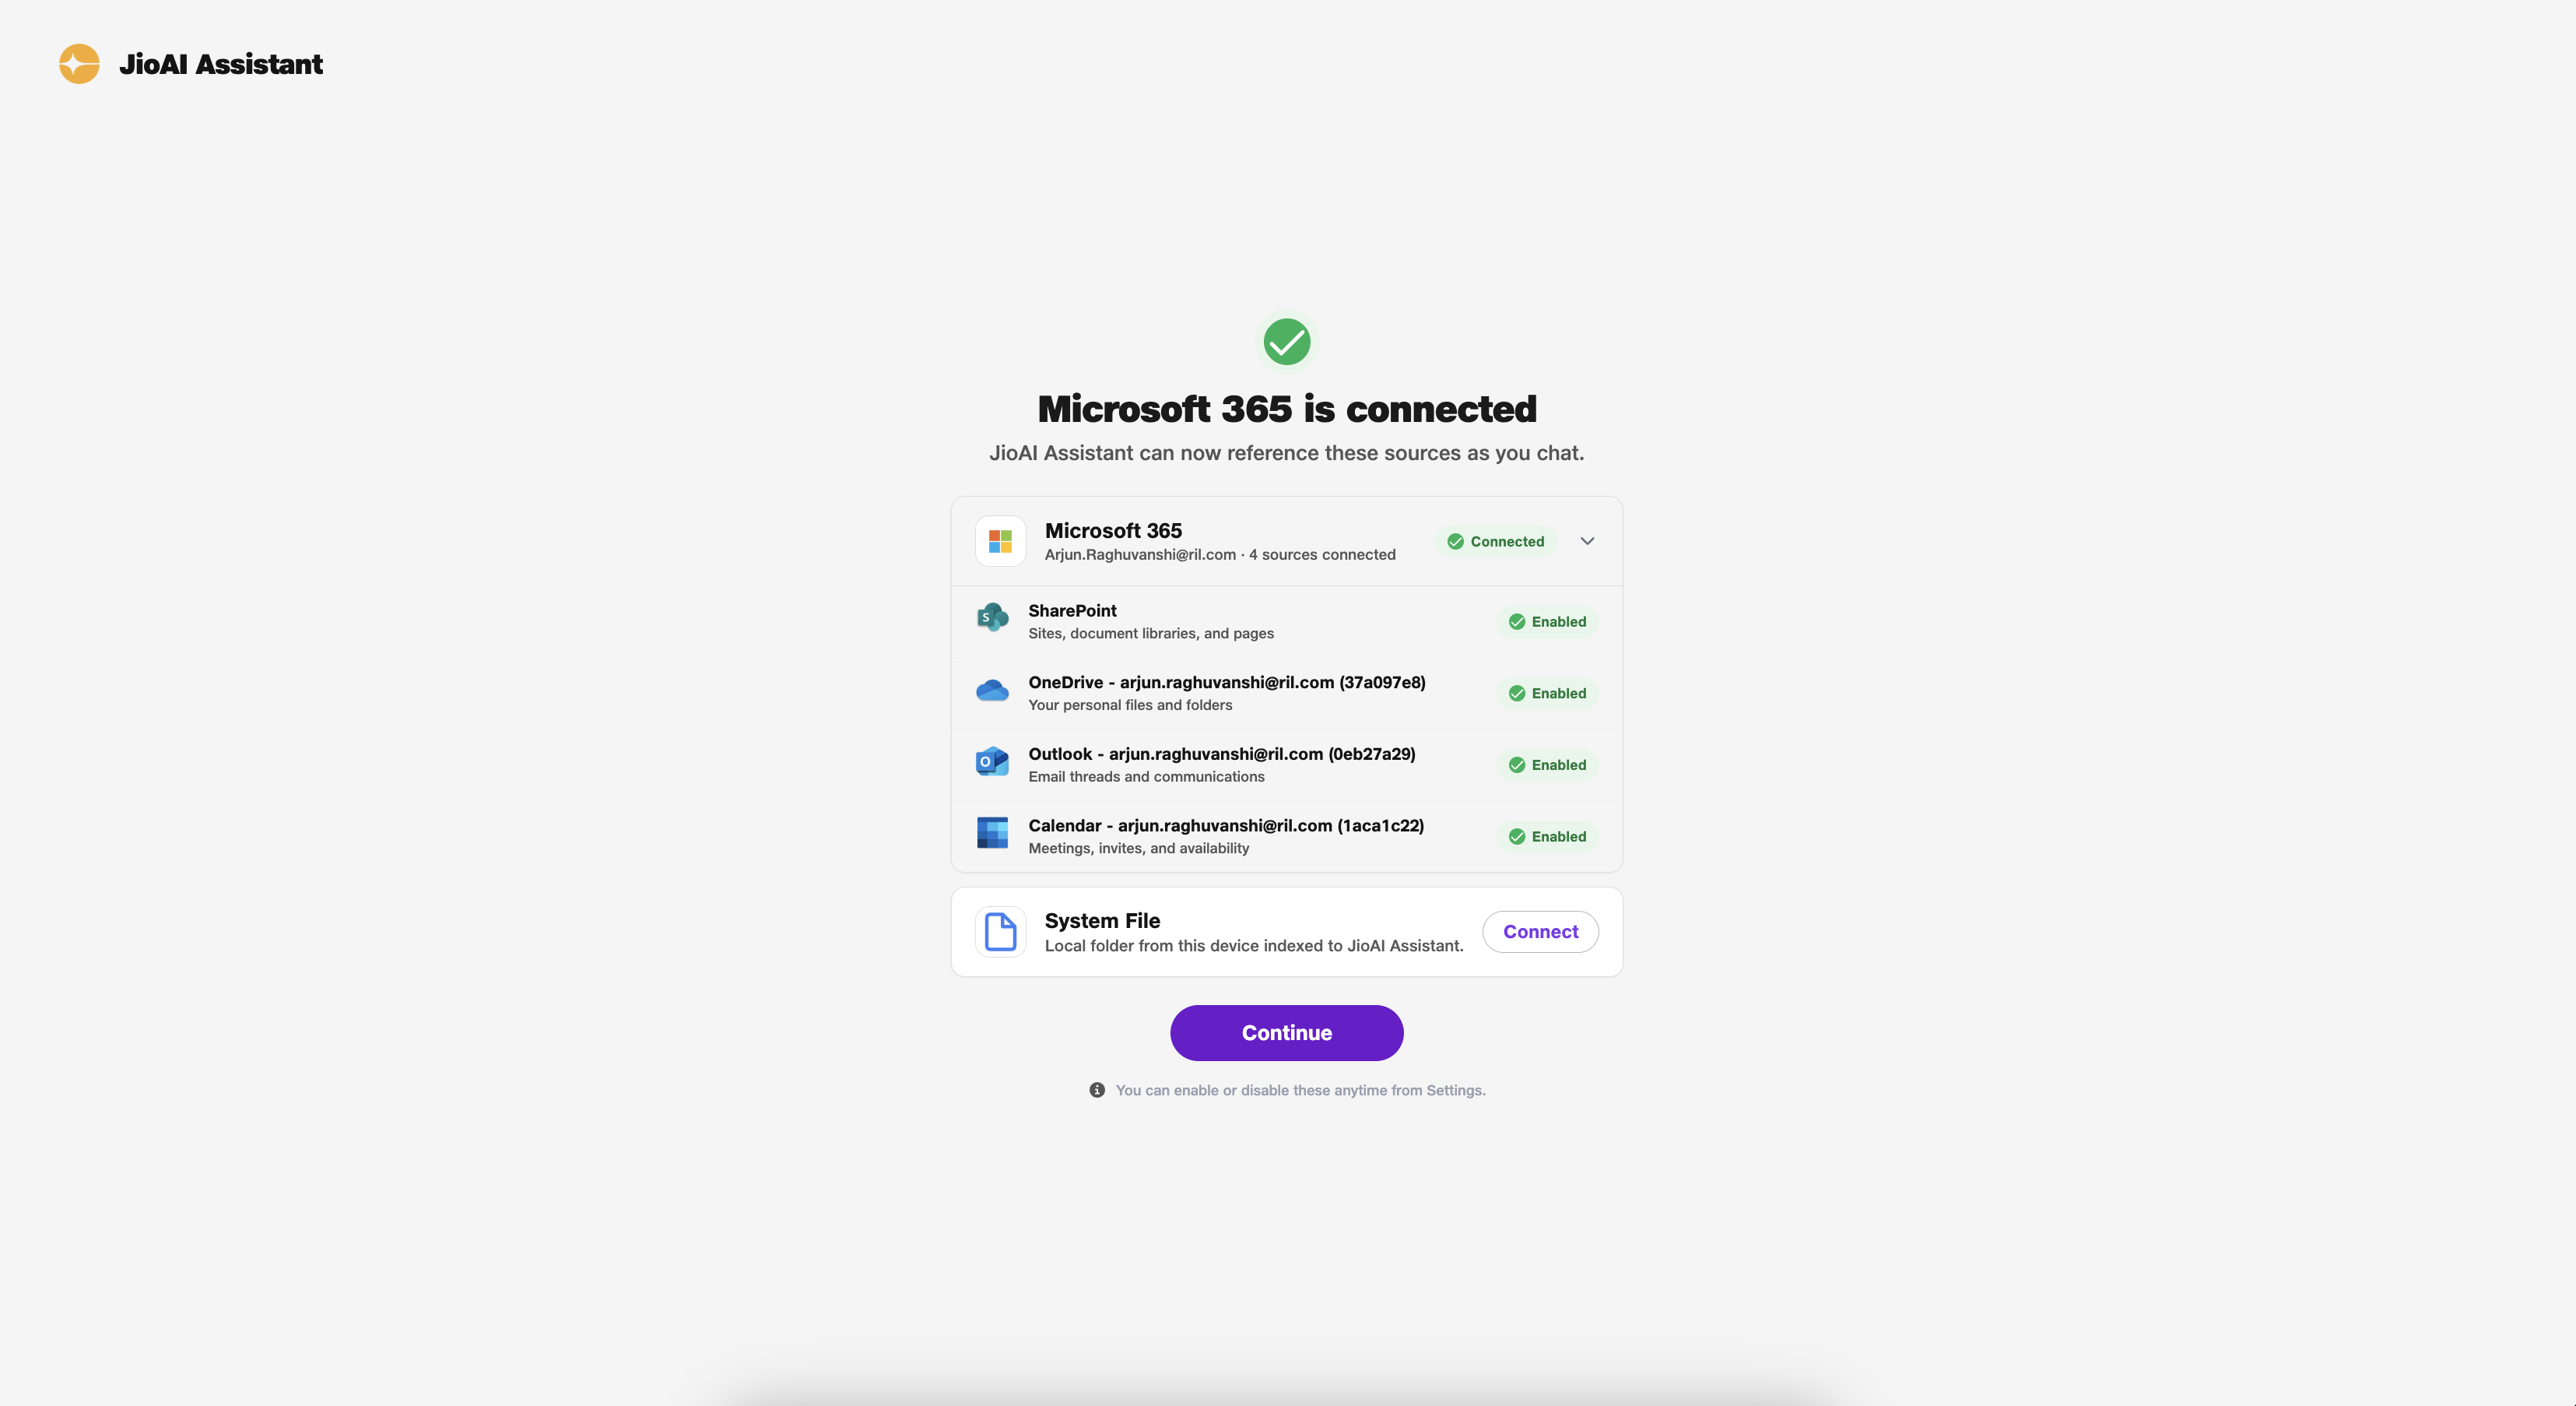
- Connected: All four sources are ready.
- Continue: Finish onboarding and start using JioAI Assistant.